


You light a favorite candle, enjoy it for a few evenings, and then notice a deep well in the middle with a thick wall of unused wax around the edge. That is tunneling, and it wastes money and scent. The good news is that you can prevent candle tunneling with a few habits that take almost no effort.
In this guide
This guide covers why tunneling happens, how to prevent candle tunneling before it starts, and what to do when it has already begun.
What causes a candle to tunnel
A candle burns by melting wax near the flame, drawing it up the wick and burning it as vapor. If the flame only melts a narrow circle around the wick, the liquid pool never reaches the wall of the container. The next time you light it, the wick sits lower in a narrow hole, and the tunnel deepens.

Most tunneling comes from a short list of causes:
- Short burns, especially a first burn that was blown out after fifteen or twenty minutes.
- A wick that is small for the diameter of the jar.
- Drafts that push the flame to one side so one edge melts and the other stays solid.
- A wick that was trimmed far too short.
Some of what it takes to prevent candle tunneling is in your control and some is not. A wick that is badly matched to the jar is a manufacturing choice, and no habit will fully cure it. But habits can prevent most everyday tunneling.
The first burn is the whole game
If you remember one rule to prevent candle tunneling, make it this: on the first burn, let the wax melt all the way to the edge of the container. Wax has a kind of memory. Whatever width the first melt pool reaches tends to become the limit for later burns.

The time this takes depends on the size of the candle, so use your eyes instead of a stopwatch. A small candle might need an hour or two. A wide, three-wick jar can take considerably longer. Plan the first lighting for an evening at home, when you can keep an eye on it, rather than lighting it for a quick moment.
To prevent candle tunneling safely, do not go past about four hours in a single burn. Beyond that, the jar gets very hot, the wick can start to mushroom and soot becomes more likely. Blow it out, let it cool, and light it again another day.
Everyday habits that prevent candle tunneling
Once the first burn is done, keep the pool wide with these routines:
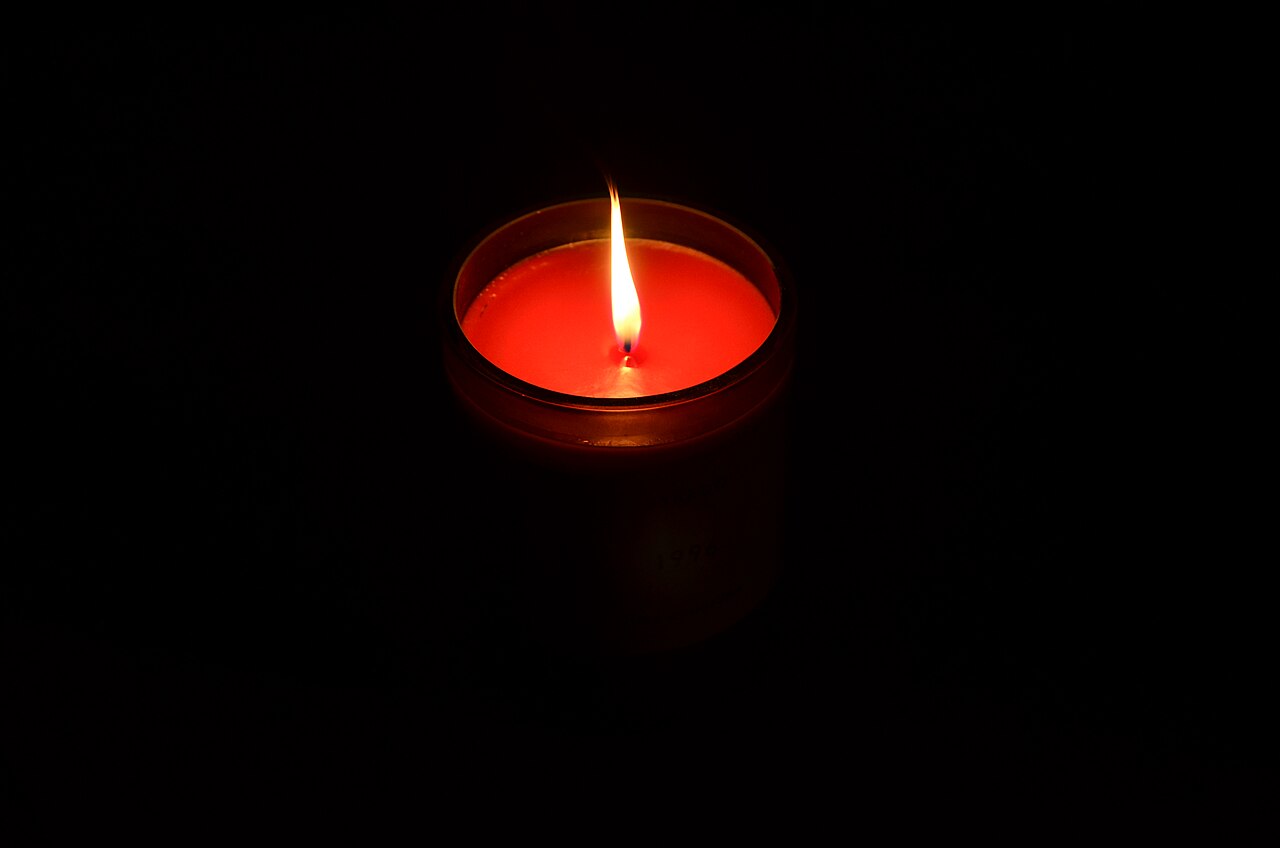
Trim the wick to about a quarter inch before every lighting, which helps prevent candle tunneling. A neat wick gives a steady flame and a more even melt.
Keep the candle away from fans, open windows, air vents and busy doorways.
Burn long enough each time for the pool to reach the rim, again watching the wax and not the clock.
Rotate the jar slightly between burns if your flame leans consistently one way.
Use a snuffer or a gentle fan of your hand rather than a hard puff, which can splash melted wax.
Different waxes behave a little differently when you try to prevent candle tunneling. Soy and coconut blends often melt at lower temperatures and can be more forgiving about pool width, while harder waxes like paraffin and beeswax can resist spreading if the wick is on the small side. Whatever the wax, the way to prevent candle tunneling stays the same: a full melt pool every time.
How to rescue a candle that has already tunneled
Do not throw it away. A tunneled candle can usually be brought back, and the methods are simple.
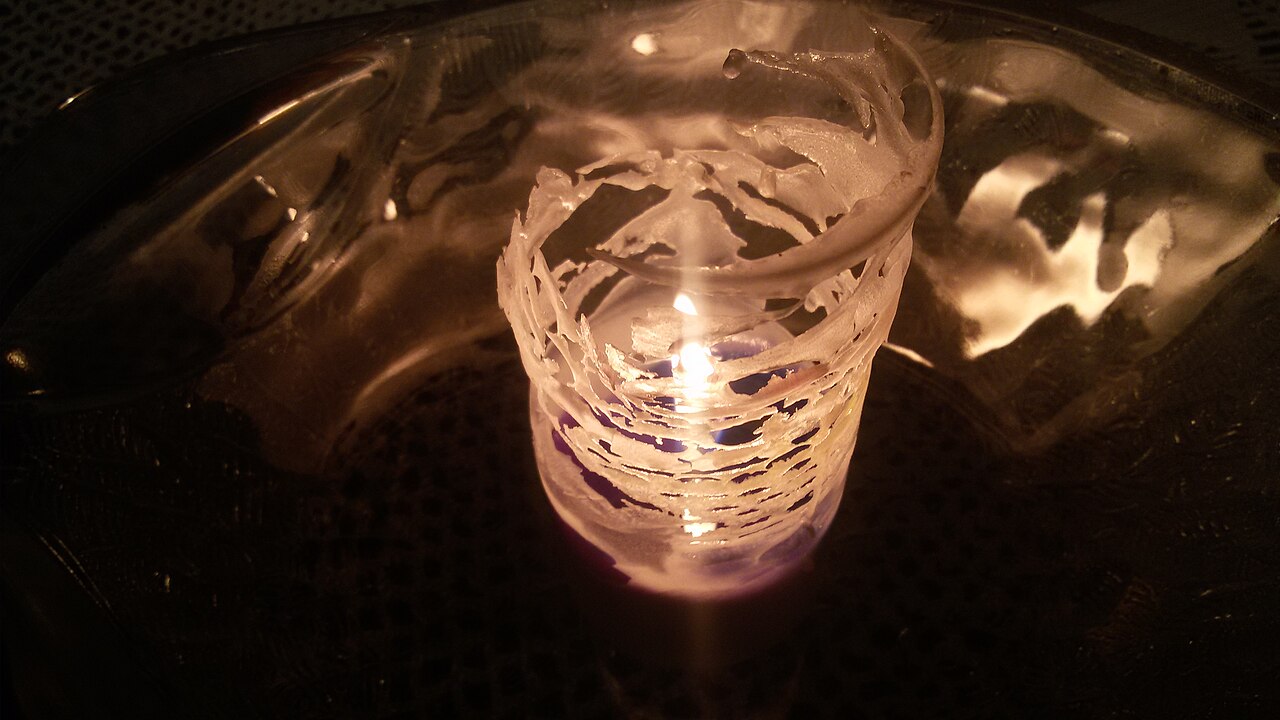
The foil method is the classic fix when you could not prevent candle tunneling in time. Wrap a collar of aluminum foil around the top of the jar, leaving an opening over the flame, and let the candle burn. The foil traps heat and helps the surrounding wax melt. Keep a close watch, never leave it alone, and take care because the foil and jar will be hot. Remove the foil carefully once the surface has melted level and the candle has cooled.
If the tunnel is deep, you can also use a hair dryer on a low setting from a safe distance to soften the high walls, or carefully scoop away excess wax from the sides while it is warm. A heat gun works as well, but go slowly, and never use any open flame other than the wick itself.
Another option is to let the tunnel burn down to a point where it can be reused. Once the wax in the center is nearly gone, the leftover wax around the edges can be removed and melted in a wax warmer, as long as no wick tab or metal bits go in with it. This is a practical way to use up the last of a favorite scent.
Shopping with tunneling in mind
When you buy a candle, a few clues help you prevent candle tunneling before you even light it. Wider jars usually have more than one wick or a thicker one for a reason. A single thin wick in a very wide vessel is a warning sign. Candles from makers who print clear burn instructions tend to be thought through, and a note like “burn until the wax melts to the edge” usually tells you the maker has tested the wick.
Container shape matters too. Straight-sided jars melt more predictably than tapered ones, which can leave a ring of wax on the way down. Think of a sloped glass vessel as something you might need to babysit a little more.
To prevent candle tunneling, remember the short version. Give every new candle a long first burn. Trim the wick before each use. Keep drafts away. And if the damage is already done, a foil collar will often save the day. Treat your candles this way and they will burn evenly down to the last bit of wax, with the scent you paid for all the way through.
More on this site: Scent Gallery Candles: How to Browse a Collection Like a Pro and Trapp Candle Giveaway on Facebook.
Header photo: Maximilian Schönherr, Wikimedia Commons (CC BY-SA 3.0).